

DIY Installation
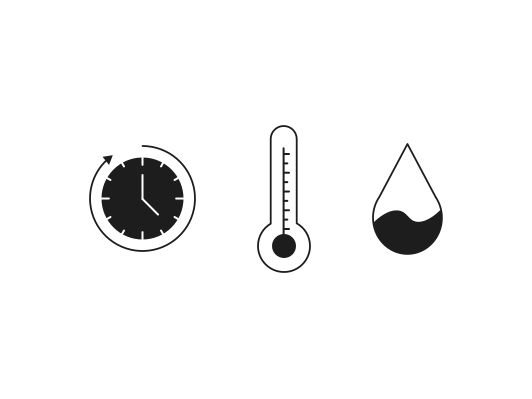
Tips for Preparation
Acclimatization: We recommend allowing the acoustic panels to acclimatize in the room for at least 24 hours so that they can adjust to the room temperature and humidity.
Indoor climate: Maintain a normal indoor environment (approx. 64–76 °F, 40–60% humidity).
Wall: The surface must be clean, dry, free of dust and grease, and able to support the product. Allow freshly painted walls to dry completely first.
Cut and Adjust
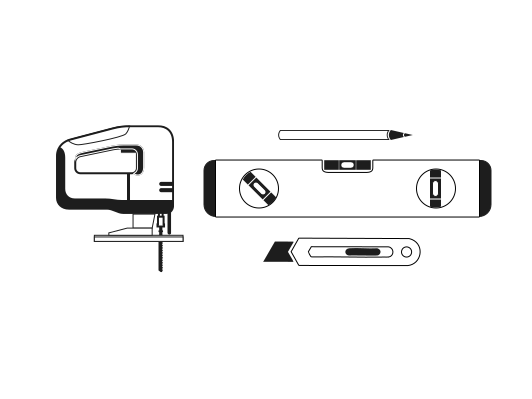
Cut your acoustic panels between the slats using a utility knife and use a circular saw or jigsaw for the longitudinal cut. Align the acoustic panels using a spirit level and mark the position.
Installation With Adhesive
Construction adhesive creates a clean installation without visible fasteners and is intended for suitable vertical wall surfaces.
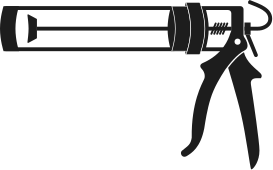
Caulk gun

Construction adhesive
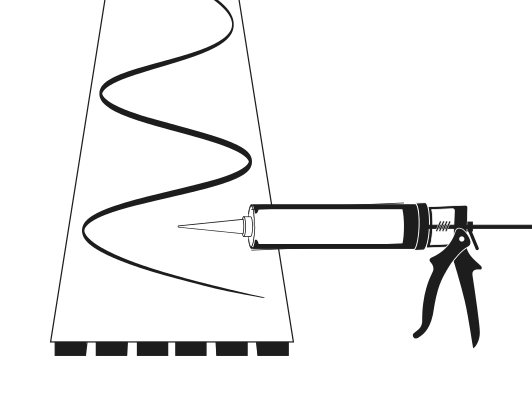
Apply adhesive
Apply construction adhesive to the back of the panel in waves or evenly spaced dots. We recommend using an adhesive with high initial tack and approximately one tube for every four panels.
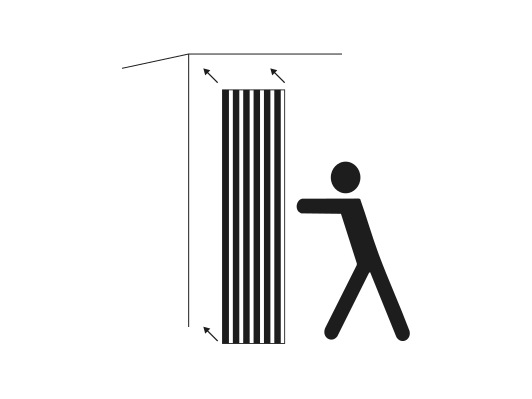
Place on Wall
Place the acoustic panels in position, align them, and press firmly. If necessary, secure them additionally until the adhesive sets. Glue installation is not suitable for ceiling applications. For ceiling installation, screws are required.
Installation With Screws
Screws allow a secure installation and are required for ceiling applications. Black drywall screws can be placed through the felt so the fasteners remain discreet.
Cordless drill
Screws
Position the panels
Align the first panel with your starting line and check that it is level.
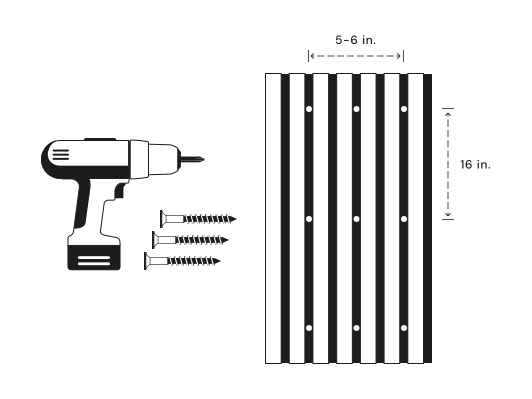
Place and screw on wall
Screw directly into the wall or into a substructure through the felt using black screws. Place the screw head between two slats if possible. Drill holes approximately every 5–6 inches horizontally and 16 inches vertically.